![How Do You Change the Time in Google Earth 2023? [Answered]](https://gearthhacks.com/wp-content/uploads/2022/12/Google-Earth-GeologyPage_1250x-2.jpg)
![How Do You Change the Time in Google Earth 2023? [Answered]](https://gearthhacks.com/wp-content/uploads/2022/12/Google-Earth-GeologyPage_1250x-2.jpg.webp)
Google Earth is a powerful tool that allows users to explore the world from the comfort of their own homes. With its advanced mapping technology, users can zoom in and out of different locations, view satellite imagery, and even fly through 3D cities.
One of the most interesting and useful features of Google Earth is its ability to display time-based data. With this feature, users can view historical satellite imagery, see how a location has changed over time, and even create time-lapse animations.
One of the most common questions users ask is how to change the time on Google Earth. Whether you’re a researcher, a student, or just someone who is curious about the world around you, understanding how to use the time feature in Google Earth can open up a whole new world of possibilities.
In this blog post, we’ll guide you through the process of changing the time in Google Earth, as well as provide tips on how to use the advanced time features for research and analysis.
It’s worth mentioning that Google Earth’s time feature has undergone some changes over the years, so it’s important to keep in mind that the instructions provided here are for the current version of the software. With that said, let’s dive in and explore the world of time on Google Earth!
Understanding Time in Google Earth


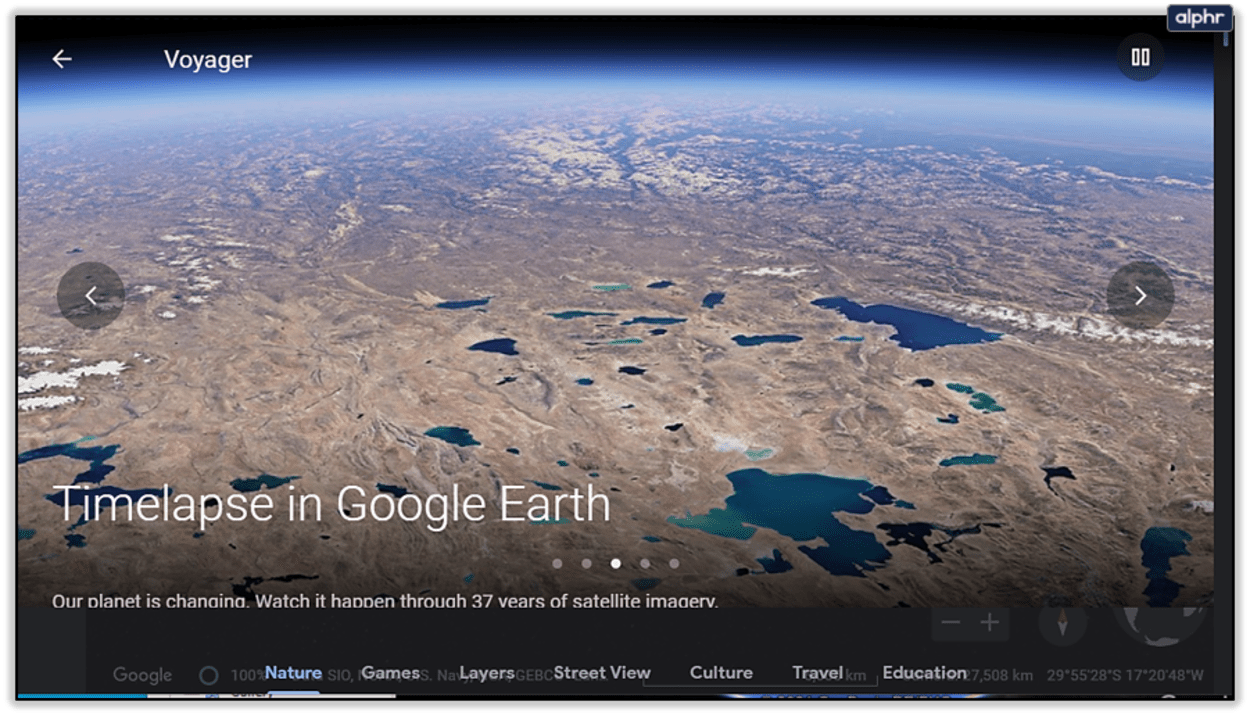
Before we dive into the process of changing the time in Google Earth, it’s important to understand how time is represented in the software. In Google Earth, time is represented by a slider located at the top of the screen. This slider allows users to move back and forth through time, viewing historical satellite imagery.
The date and time of the imagery are displayed on the slider, so users can see exactly when the image was captured.
In Google Earth, there are two main types of time-based data available:
- Historical imagery
- Time-lapse animations.
The historical imagery is a collection of satellite images that have been captured at different times. Users can move the slider back and forth to view the images and see how a location has changed over time.
Time-lapse animations, on the other hand, are a series of images that have been stitched together to create a moving video. These animations can show how a location has changed over the course of several years, making it easy to see long-term trends and patterns.
It’s important to note that the time displayed on the slider is synced with the current location’s time zone. This means that if you’re located in New York and you’re viewing a location in Tokyo, the time displayed on the slider will be in Tokyo’s time zone.
To ensure that you’re viewing the correct time, it’s always a good idea to check the time zone of the location you’re viewing.
By understanding how time is represented in Google Earth, and the different types of time-based data available, you’ll be able to make the most of the software and gain new insights into the world around you.
Setting the Time in Google Earth
Changing the time in Google Earth is a simple process that can be done in a few easy steps. Here’s how to do it:
- Navigate to the place you wish to see on Google Earth.
- Look for the time slider located at the top of the screen. This slider allows you to move back and forth through time, viewing historical satellite imagery.
- To adjust the time, simply click and drag the slider to the left or right. As you move the slider, the date and time of the imagery will be displayed, so you can see exactly when the image was captured.
- To set the time to a specific date and time, you can use the date and time picker located next to the time slider. You can also use the keyboard shortcuts to move the time forward or backward.
- Once you’ve set the time, you can use the zoom and pan tools to explore the location in more detail.
Keep in mind that some areas may not have historical imagery available, so the time slider may not move or the images may be more recent. Also, the availability of historical images may also depend on the level of detail of the area.
Advanced Time Features
Google Earth offers a range of advanced time features that can be used for research and analysis. Some of these features include:
- Historical imagery: This feature allows you to view a collection of satellite images that have been captured at different times. You can move the slider back and forth to view the images and see how a location has changed over time.
- Time-lapse animations: These animations are a series of images that have been stitched together to create a moving video. They can show how a location has changed over the course of several years, making it easy to see long-term trends and patterns.
- Compare different time periods: You can compare different time periods in Google Earth by using the “Compare” feature. This feature allows you to view two different time periods side-by-side and see the changes that have occurred.
- Measurement tools: Google Earth includes measurement tools that allow you to measure distances and areas over time, which can be useful for research and analysis in fields such as urban planning and climate research.
By understanding how to use these advanced time features, you’ll be able to gain new insights and make the most of the software. These features can be used for various fields such as urban planning, climate research, and geology, and by understanding how to access and use them, you’ll be able to take your research to the next level.
| Step | Description |
| 1 | Open Google Earth |
| 2 | Locate the time slider in the top right corner of the screen next to the compass and ruler icon |
| 3 | Click and drag the time slider to navigate through different dates and times |
| 4 | Use the clock icon to change the speed of the animation |
| 5 | Explore the historical imagery and observe how the location has changed over time |
| 6 | Enjoy exploring the world in different periods of time |
Utilizing Time in Google Earth for Research and Analysis
Google Earth’s time feature offers a wealth of possibilities for research and analysis in a wide range of fields. Here are a few examples of how the time feature can be used:
Urban Planning
By viewing historical satellite imagery, urban planners can see how cities have changed over time and make informed decisions about future development.
They can also use time-lapse animations to visualize the growth of a city over several years and identify patterns and trends.
Climate Research
Scientists can use Google Earth’s time feature to study changes in vegetation, land cover, and temperature over time.
They can also use measurement tools to track the movement of glaciers and ice sheets and analyze the effects of climate change on the environment.
Geology
Geologists can use Google Earth’s time feature to study the formation and evolution of landforms over time.
They can also use measurement tools to study the erosion and sedimentation of rivers and coastlines.

Real Estate
By looking at historical images, real estate agents and investors can analyze the development of a certain area.
You can also get an idea of how property values may change in the future.
Disaster Management
Emergency responders and disaster management agencies can use Google Earth’s time feature to view historical satellite imagery of an area before and after a disaster.
This information can help them to assess the extent of the damage and plan for recovery efforts.
Note
To make the most of Google Earth’s time feature for research and analysis, you can also export time-based data from the software, which can then be analyzed in GIS software or Excel.
The exported data can include historical imagery, time-lapse animations, and measurements, which can be useful for further analysis and visualization.
FAQs
How Do I Access the Time Slider in Google Earth?
The time slider is located in the top right corner of the Google Earth screen.
It’s next to the compass and ruler icon.
Is it Possible to View Historical Imagery on Google Earth?
Yes, by using the time slider, you can view historical imagery.
You can also explore different time periods on Google Earth.
Conclusion
- In conclusion, changing the time in Google Earth is a simple process that allows you to view historical imagery and explore different time periods.
- By using the time slider located in the top right corner of the screen, you can easily navigate through different dates and times, and see how the Earth has changed over time.
- This feature is a great tool for anyone interested in geography, history, or environmental science, and can be a fun and educational experience for all ages.
- With the above step-by-step instructions, you can now easily change the time in Google Earth 2023 and explore the world like never before.
Related Articles
- Is Zoom Earth Better Than Google Earth?[Comparison]
- Is Google Earth Really Live? [Revealed]
- How Do I Change the Date in Google Earth? [Steps]